Equipment Maintenance Tips For All Seasons
It’s always a good time to make sure your equipment is in top operating condition. Picture this: You’re just starting the day with a full schedule ahead and you get hit with a maintenance set back. Now, the whole day is thrown off — you might even have to reschedule a few things on the list. Whether it’s just bad luck or something you could have prevented, regular and thorough care of your equipment is the best bet for a smooth day on the job, no matter the season. Sage Oil Vac is always here to help, so we’ve compiled a list of preventative maintenance tips, tricks and advice:
In planning ahead for that busy time, it’s important to account for the machinery you’ll be maintaining and what it will need, according to Sage Oil Vac CEO Aaron Sage. “Make sure everything is serviced, including specific components like wheel bearings,” Sage said. “Ideally, you want to start the busy maintenance season with all of your machinery ready to run efficiently and without interruption.”
Don’t forget these components.
In addition to checking major mechanical and structural components, Sage said it’s important to inspect parts that many operators don’t typically think about when conducting early-season maintenance, including their Sage Oil Vac systems. “It starts with really basic maintenance, like ensuring your trailers are inspected and ready for the road,” Sage said. “The long game here is that you need to be efficient on the maintenance side.”
Equipment maintenance tips 101
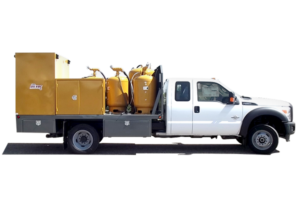
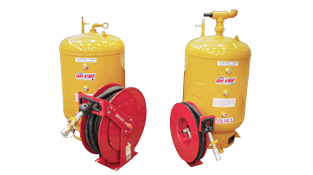
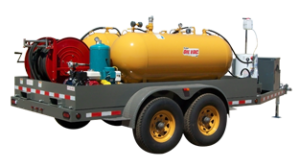
Air Compressors: Your Sage Oil Vac is built to be dependable and long-lasting — this is in-part due to its very few moving parts. So, the air compressor is the most important part to keep maintained on your unit. Use the recommended maintenance schedules that come with the system for the engine and the compressor pump. An oil change on the engine and pump should be performed at least one time per year regardless of use on your system. Intake air filters should also be replaced at least one time per year.
Compressor air tanks should be drained daily during use. The Sage Oil Vac design (on some models) can result in a collection of used oil in the holding tanks that can accumulate from oil mist vacuumed into the holding tanks. This is harmless to the design of the system however, the used oil should be drained and disposed of properly to properly maintain the compressor.
Pro Tip: Operating your Sage Oil Vac continuously with the used oil tank completely full could result in a large amount of used oil accumulating within the compressor heads and air tanks. It’s important to unload the used oil tank if its capacity reaches 95 percent or before.
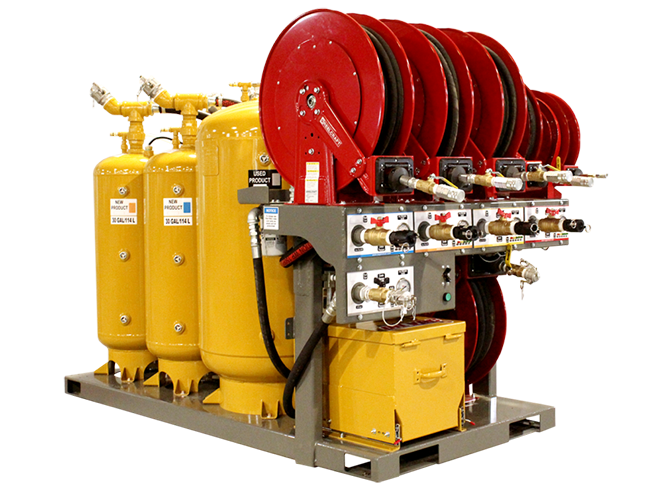
Ball Valves: Ball valve actuation can become loose over time and may need to be replaced. Check that that ball valve actuation on each ball valve is not so loose that they can open or close during routine travel to the jobsite.
Cam Locks: Cam lock fittings should have caps and plugs installed to reduce drips and spills. Female cam connections need to have both actuating arms intact and working to secure a good connection.
Filters: Sage units come with 10- to 25-micron fresh fluid filters for all new fluids. We recommend that these are changed two times per year or every 1,000 gallons of oil filtered.
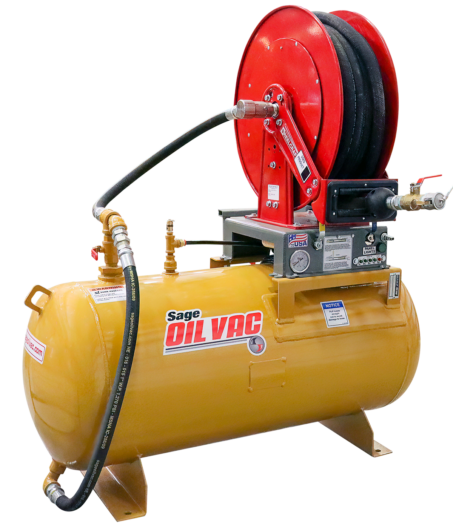
Hose reels: Check the spring latch assembly of the hose reel to ensure that the reel is performing properly. Grease swivels should be greased at least once a year and more often for heavy use depending on the model. Double check that all ball stops are installed and tight to keep the hose reel tension in good shape.
Hoses: Sage Oil Vac uses 1,000+ psi hoses for their systems. Check the outer hose covers and look for any gouges or wear — this is especially important on spring retractable hose reels. Keep a lookout for spots where oil is seeping through the outer cover, as this could indicate that the inner lining of the hose has a rip or tear.
Hydraulic Connections: Clean off any grime or dirt from the hydraulic fittings for a secure connection to meters and equipment — any leaks should be addressed promptly.
Lug Nuts: The lug nuts on trailer wheels need to be tightened to the proper torque — this is an important responsibility that trailer owners and users need to be familiar with. Inadequate and/or inappropriate wheel nut torque (tightness) is a major reason that lug nuts loosen in service. Loose lug nuts can rapidly lead to a wheel separation and serious safety consequences.
Lug nuts are prone to loosen right after a wheel is mounted to a hub. When driving on a new or remounted wheel, check the lug nut tightness frequently during the first few hundred miles of the trailer’s use. A good rule of thumb is to check after the first 10, 25 and 50 miles of driving, before each tow, and at least twice per year thereafter.
It’s also important that you tighten lug nuts to the proper torque for the axle size on your trailer to prevent wheels from coming loose. The only way to be certain you have tightened the lug nuts properly is with a torque wrench. Four-way wrenches, ratchets and similar tools can be useful for short-term emergency repairs but they’re not appropriate tools for adequately tightening lug nuts.
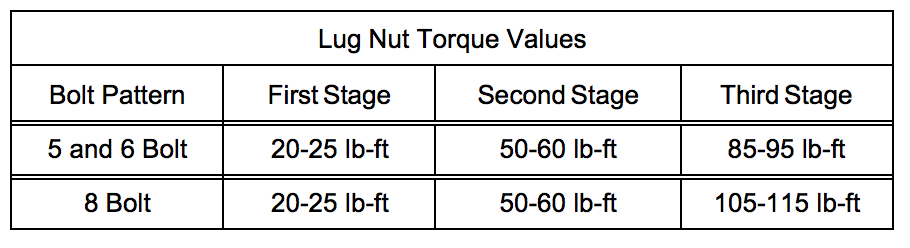
While tightness is important, be warned that overtightening can result in breaking the studs or permanently deforming the mounting stud holes in the wheels. Tighten per sequence in Figure 1 below. Using this sequence, tighten all lug nuts in three stages and to the torque values listed in Figure 2 for each stage.
Pro Tip: Keep a record of the date and approximate mileage of your last torque check somewhere on or inside your equipment. Make note of any lug nut that is loose and investigate the reason(s). If the lug nut tightness is not maintained after more than one re-tightening application, this indicates there is something wrong with the lug nuts, studs, wheels and/or hubs and must be corrected.
Figure 1. Lug Tightening Sequence

Figure 2. Lug Torque Requirements
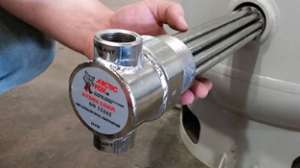
Meters: Electronic meters will occasionally need new batteries. High flow non-drip ends should be cleaned regularly to for a proper close to keep drips and spills to a minimum.
Running Lights: Make sure all brake lights, turn signals, license plate lights and market lights work correctly.
Tires: Check the condition of the tire tread, and make sure there is adequate air pressure. Also inspect for gouges or other defects.
Sage Oil Vac Tanks: The Sage Oil Vac design ensures that very little outside dirt and elements are introduced into the tanks, protecting their cleanliness, but an annual flushing of the used oil tank is recommended to flush out sludge and other contaminants that have been vacuumed out of engines and drain pans with debris. To do this, vacuum 5-10 gallons of diesel, pressurize the tank (no more than 5 psi) and dispense the fluid to flush the tank and hose circuit. This same method can be used to switch fluids in new oil tanks if necessary — i.e., switching a 15W-40 motor oil tank to a hydraulic fluid tank.
Wheel Bearings: It’s recommended to grease wheel bearings every 12 months or 12,000 miles, whichever comes first. You can use red grease for trailer wheel bearings or wheel bearing grease, which is specially designed for use on trailer running gear. Wheel bearing grease has a slightly higher temperature rating, 520 degrees, compared to 510 degrees for the red grease.
When adding grease, make sure that the new is compatible with the old or remove the old grease completely. Incompatible greases can break each other down. Also, inspect the bearings and races before repacking them and replace the grease seals since they will likely be damaged in the process.
Consider equipment accessories for increased efficiency.
After you’ve inspected your equipment and ensured it’s ready for the jobsite, it’s a good time to consider any changes or additions you can make to become more efficient. That may mean adding new machinery or making smaller changes. For example, Sage said adding new drain plugs and hose assemblies can make oil changes cleaner and more efficient, especially when used alongside a Sage Oil Vac system.
“Once your machinery is ready to go, it’s a good time to start looking at a system to enable you to connect directly to machines for changing oil, making it cleaner and more efficient,” Sage said. “Cleaner drain plugs like those from Femco® work well with Sage Oil Vac systems and can make you better at your job of changing oil on the jobsite.”
Plan your maintenance operations.
Early in the busy season is a good time to look at ways you can streamline not just your equipment, but how you use it. Extended oil changes have been a growing trend in the automotive industry for some time now, and it’s starting to work its way into the construction sector. While it may work for some equipment, waiting longer between oil changes isn’t feasible for all machinery, largely because of working conditions. Prioritizing oil change jobs based on frequency and need is one way to make your operations more efficient.
“The deciding factor on that is the work environment. Is it a dirty environment? How hard is the machinery working? If it’s dirty and the machinery’s working hard, you can’t really delay oil changes,” Sage said. “If it’s an over-the-road truck that’s getting a lot of hours on it, but in cleaner working conditions at the same RPM for long periods, extended oil changes will work. If it’s an excavator ramping RPM up and down, working out in dirt storms and getting worked really hard, you need to monitor oil a lot more closely and keep oil changes more frequent.”
Regular maintenance is essential to keep equipment, accessories and your work environment safe and reliable. Do not hesitate to contact your Sage Oil Vac Dealer for any maintenance and equipment questions.
Related Articles
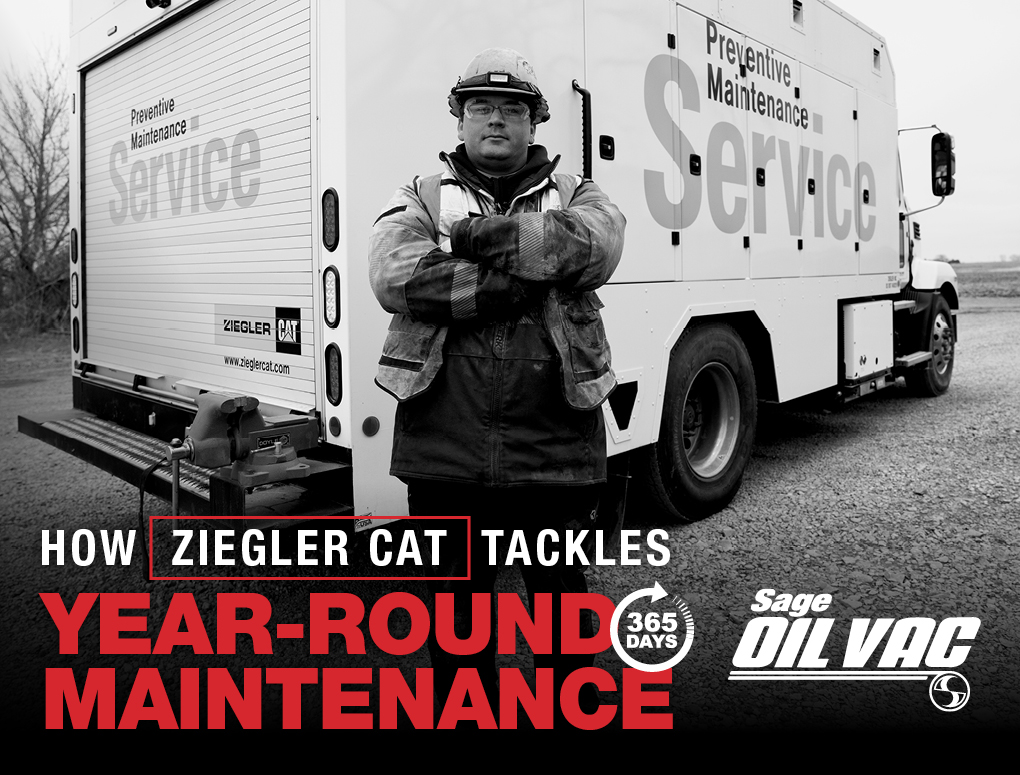
From Cold to Heat: How Ziegler Cat Tackles on-site Maintenance All Year Long
With 34 locations across Minnesota and Iowa, Ziegler CAT is one of the largest Caterpillar dealers in the United States. The team regularly performs preventive maintenance on heavy equipment — including skid loaders, articulated haul trucks, excavators, large wheel loaders, landfill compactors and dozers — that runs in all kinds of weather, ranging from blazing-hot […]
Four common misunderstandings about Sage Oil Vac products explained
Facts first: We’re clearing up the most popular misconceptions about our product lines. After all, we’re the ones who know it best! Read more to find out.
GROW YOUR BUSINESS WITH THE RIGHT SAGE OIL VAC SYSTEM
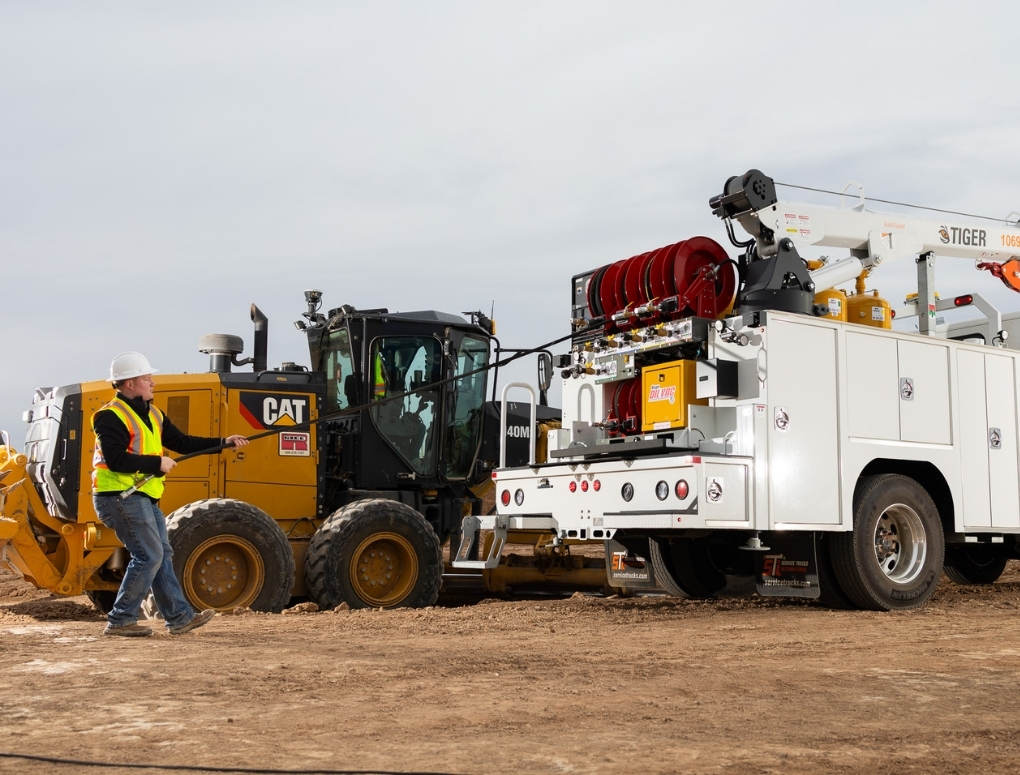
On the jobsite, a piece of machinery is only making you money when it’s running. Sage mobile lube systems can make a universal task quicker and more efficient, helping every machine spend more time doing its job.